What to Look for in a Capture Card: A Comprehensive Guide
Understanding the Basics of Capture Cards
Capture cards are integral components for anyone looking to digitize video and audio signals from various sources. Essentially, a capture card is a device that translates incoming video and audio signals into a digital format compatible with your PC. These signals can originate from multiple sources, such as gaming consoles, camcorders, or other computers, making capture cards a versatile tool in both gaming and content creation domains.
The primary function of capture cards is to bridge the gap between analog or digital sources and your computer, providing a seamless way to record or stream content. When you connect a capture card to a source device—whether it’s a PlayStation, Xbox, or a high-definition camcorder—the device encodes the input signals, converting them into a format that can be easily processed by your PC. This functionality is especially beneficial for gamers who want to stream their gameplay on platforms like Twitch or YouTube, as well as for professionals who need a reliable method for live streaming events or recording high-quality videos.
There are different types of capture cards available, each suited for specific needs. Internal capture cards are designed to be installed inside your computer through a PCIe slot. These cards typically offer superior performance and lower latency, making them ideal for users who require high-definition recordings or streams. On the other hand, external capture cards connect via USB or Thunderbolt ports, offering greater flexibility and portability. These are perfect for users who need a mobile solution or who prefer not to open their computer case for installation.
Both internal and external options have their own set of advantages. Internal capture cards tend to be more stable and can handle higher data rates, suitable for those looking to capture 4K content. External capture cards, while potentially limited by the speed of their connection interface, offer ease of use and are generally compatible with both desktop and laptop computers. Understanding these distinctions can help you make an informed choice that best suits your recording or streaming needs.
Key Features to Consider When Choosing a Capture Card
When selecting a capture card, it’s crucial to understand the key features that directly impact its performance and suitability for your needs. The first parameter to consider is the resolution and frame rate. Capture cards capable of supporting higher resolutions and frame rates, such as 1080p at 60fps or even 4K, offer superior video quality, which is essential for professional streaming and recording.
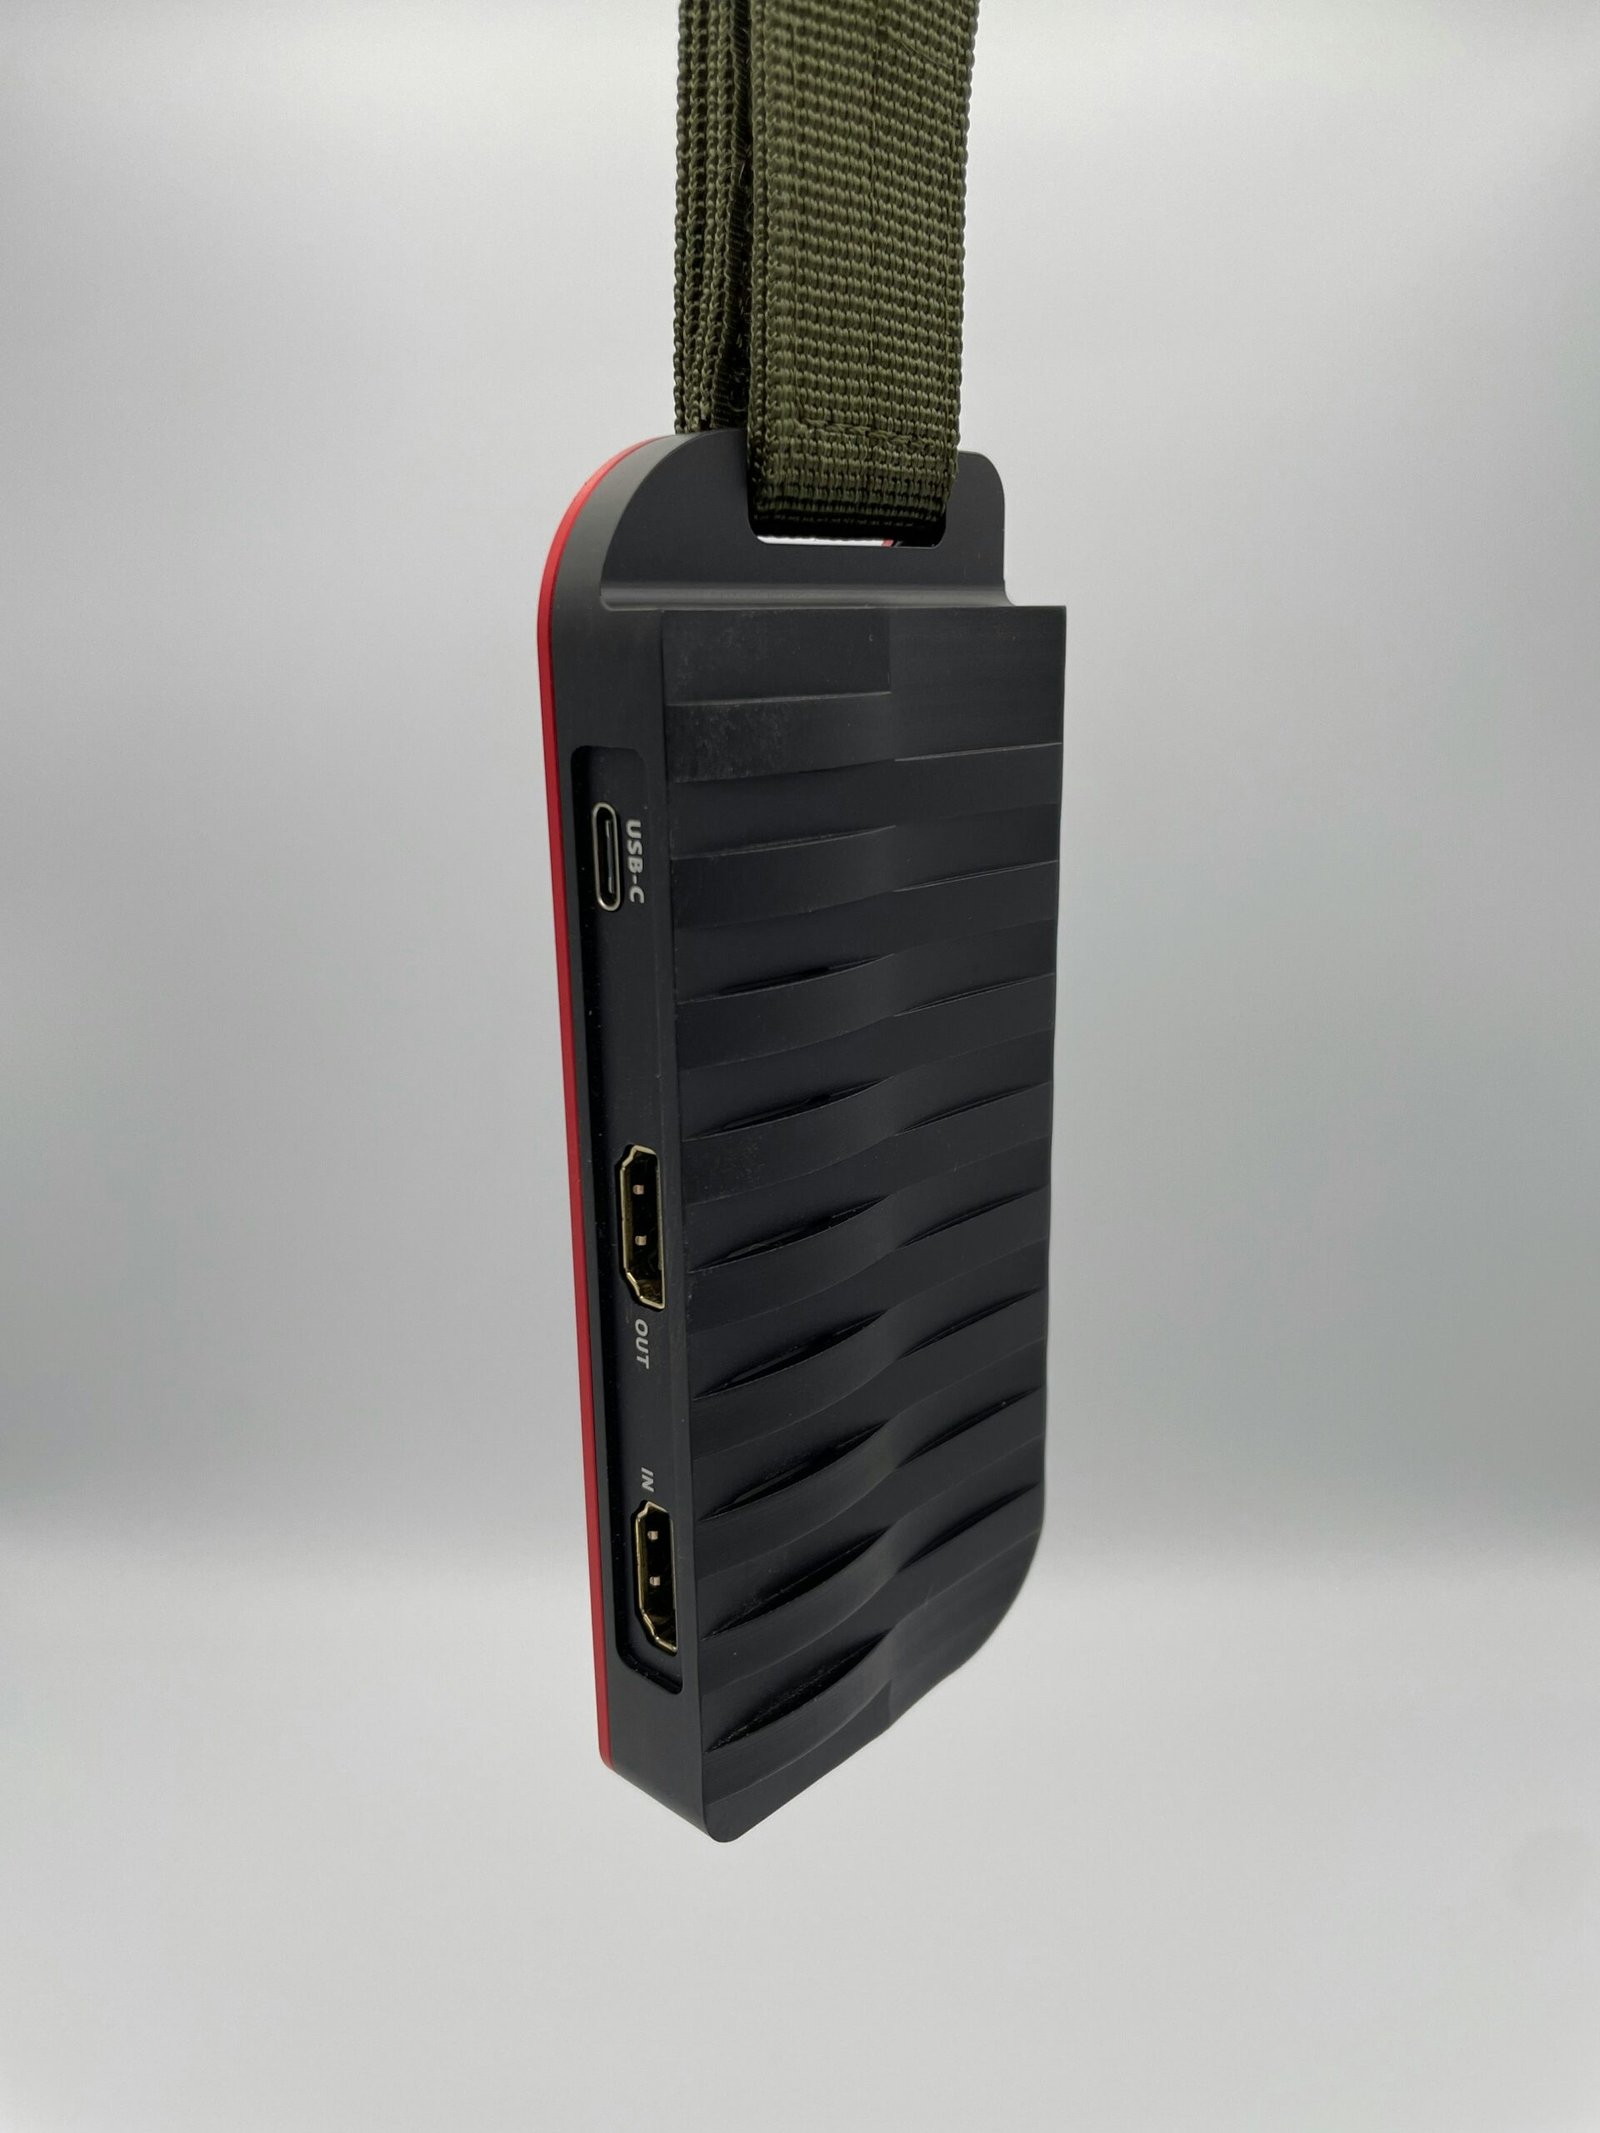
Another aspect to examine is the input and output types. Modern capture cards often come equipped with HDMI ports, but it’s also essential to consider cards that offer additional input options like component or composite for compatibility with older devices. The output options, including pass-through capabilities, allow you to simultaneously send the captured signal to a monitor for real-time viewing, ensuring a seamless recording or streaming experience.
Device compatibility is equally critical. Ensure the capture card supports the platforms you plan to use, whether it’s a console like Xbox or PlayStation, or a PC-based setup. Moreover, check for software compatibility. Many capture cards come with proprietary software, but they should also be compatible with popular streaming and recording software like OBS Studio or XSplit.
One of the most important factors, particularly for live streaming, is low latency. Low latency in a capture card means a near-instantaneous capture to display time, which is vital to ensure smooth and synchronized video output. High latency can result in noticeable delays, detracting from the quality of your content, especially during live interactions or gameplay.
In conclusion, understanding these key features—resolution and frame rate, input and output types, compatibility with devices and software, and low latency—is fundamental for making an informed decision when choosing a capture card. This knowledge equips you to select a capture card that meets your specific requirements and provides the best performance for your budget.
“`html
Popular Capture Card Models and Brands
When it comes to selecting a capture card, the market offers a plethora of reputable models and brands, each with its own unique features and advantages. Among the leading manufacturers, Elgato, AVerMedia, and Razer stand out due to their consistent performance and innovation in the realm of capture technology.
Elgato is a name often synonymous with high-quality capture solutions. Their model, the Elgato HD60S+, is highly recommended for those requiring smooth, reliable recording and streaming capabilities. This external capture card offers 1080p60 capture and instant Gameview technology, providing zero-lag, full HD recording while allowing for a seamless streaming experience. The device also features USB 3.0 connectivity, ensuring quick and efficient data transfer. However, some users have reported that the Elgato HD60S+ may have compatibility issues with certain software, which could be a potential downside to consider.
Another prominent player in the capture card market is AVerMedia. Notably, the AVerMedia Live Gamer Portable 2 Plus stands out for its portability and versatile functionality. This model supports 4K pass-through, enabling users to enjoy ultra-high-definition gaming while recording in 1080p. It boasts a plug-and-play setup, making it user-friendly, especially for beginners. Furthermore, the device includes a built-in H.264 hardware encoder, which offloads processing from the PC, ensuring smooth and efficient operation. One of the drawbacks is its slightly higher price point compared to other models with similar features.
Razer, known for its gaming peripherals, also offers noteworthy capture solutions. The Razer Ripsaw HD is a popular choice among gamers and content creators. This capture card delivers high-quality 1080p60 footage and supports 4K pass-through without compromising on performance. The Ripsaw HD’s compact design and easy setup make it an attractive option for those who value both aesthetics and functionality. However, some users have pointed out that the Ripsaw HD can be less intuitive when it comes to software integration, which may require additional setup time.
In essence, the choice of a capture card largely depends on your individual needs and preferences. Whether you prioritize portability, ease of use, or technological sophistication, brands like Elgato, AVerMedia, and Razer offer diverse options that cater to a wide range of requirements. By evaluating the features and potential limitations of each model, you can identify the capture card that aligns best with your expectations.
“““html
How to Set Up and Optimize Your Capture Card
Setting up and optimizing your capture card is essential to ensure optimal performance and quality. Whether you’re using an internal or external capture card, the process involves both physical installation and software configuration. By following these steps, you can maximize your capture card’s capabilities, making sure it serves your streaming and recording needs effectively.
Physical Installation
For internal capture cards, begin by powering down your computer and opening the case. Locate an available PCIe slot on the motherboard, carefully insert the capture card into the slot, and secure it with the screw from the slot cover. Close the case and power on your computer.
For external capture cards, connect the device to your computer using a USB or Thunderbolt cable. Ensure that the cables are firmly plugged into both the capture card and your computer to avoid any connection issues.
Software Setup
Once the physical installation is complete, the next step is to install the necessary drivers and software that came with your capture card. Visit the manufacturer’s website to download the latest drivers and software updates, as these can improve performance and compatibility. Follow the on-screen instructions provided by the installation wizard.
After installing the required software, launch it and configure your capture card settings. This typically involves selecting the input source, resolution, and frame rate. Make sure to verify that your capture card is recognized by your computer and that the software is functioning correctly.
Optimizing for Best Performance
To get the most out of your capture card, it’s crucial to optimize both the video and audio settings. For video, adjust the resolution and bitrate based on the capabilities of your capture card and your streaming platform’s requirements. Higher resolutions and bitrates result in better video quality but require more processing power and bandwidth.
For audio, ensure that your capture card is set to capture both game audio and your microphone input, if applicable. Use software features such as noise cancellation and audio filters to improve the clarity and overall quality of your sound.
Additionally, always keep your software and firmware updated to take advantage of new features and improvements. Regularly check for updates on the manufacturer’s website.
Troubleshooting Common Issues
If you experience any issues, such as your capture card not being detected or poor video quality, try the following troubleshooting steps:
- Recheck all physical connections to ensure everything is securely attached.
- Verify that you have installed the latest drivers and software updates.
- Restart your computer and capture software.
- Consult the manufacturer’s support resources for specific troubleshooting tips.
By carefully following these setup and optimization steps, you can ensure that your capture card performs at its best, providing you with high-quality streaming and recording experiences.
“`